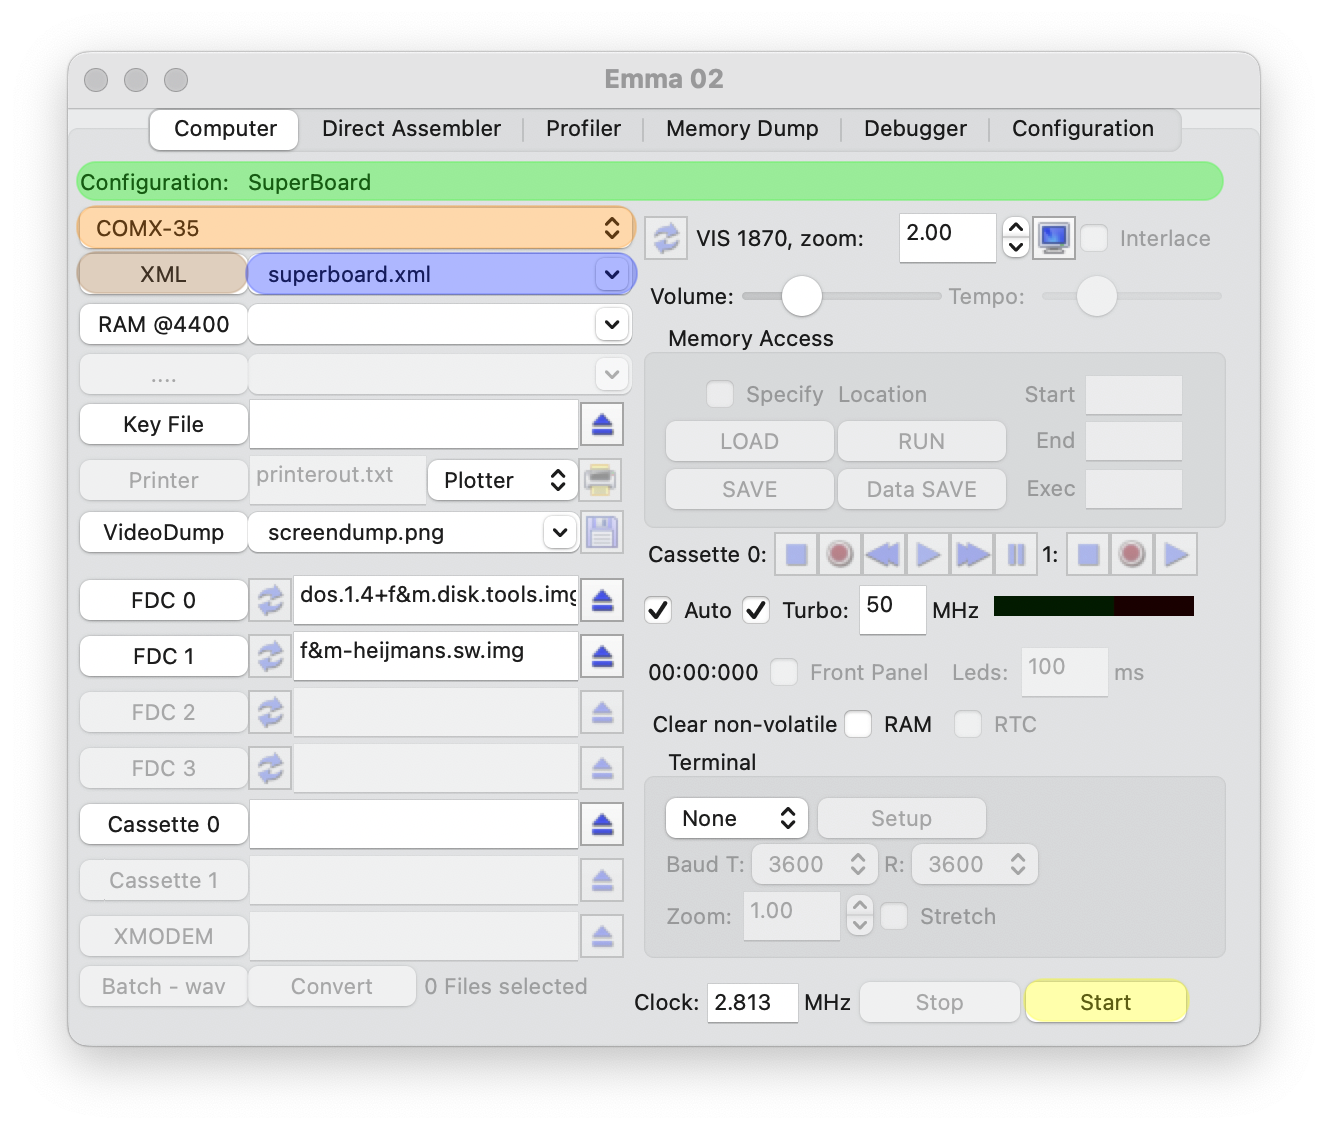
To start a computer emulation press 'Start' (highlighted in yellow in screenshot below). After startup the 'Start' button will change to 'Reset' and the 'Stop' button will be enabled. To stop a running computer either press 'Stop' or close the main emulation window.
To select an XML file select the desired computer (highlighted in orange) and then the xml file itself (highlighted in blue).
When selecting the xml file a short description of the selected configuration for that file is shown in the Configuration field (highlighted in green). The rest of the GUI will be enabled or disabled based on the XML file content. As stated above start any selected emulation by selecting 'Start' (highlighted in yellow).
The computer list (highlighted in orange) is generated based on the folder structure in the Xml folder within the data folder (see also Directory and File Structure). A different Xml folder can be selected via the XML button (highlighted in brown).
The current defined computer list is show when using the computer selector (highlighted in orange):
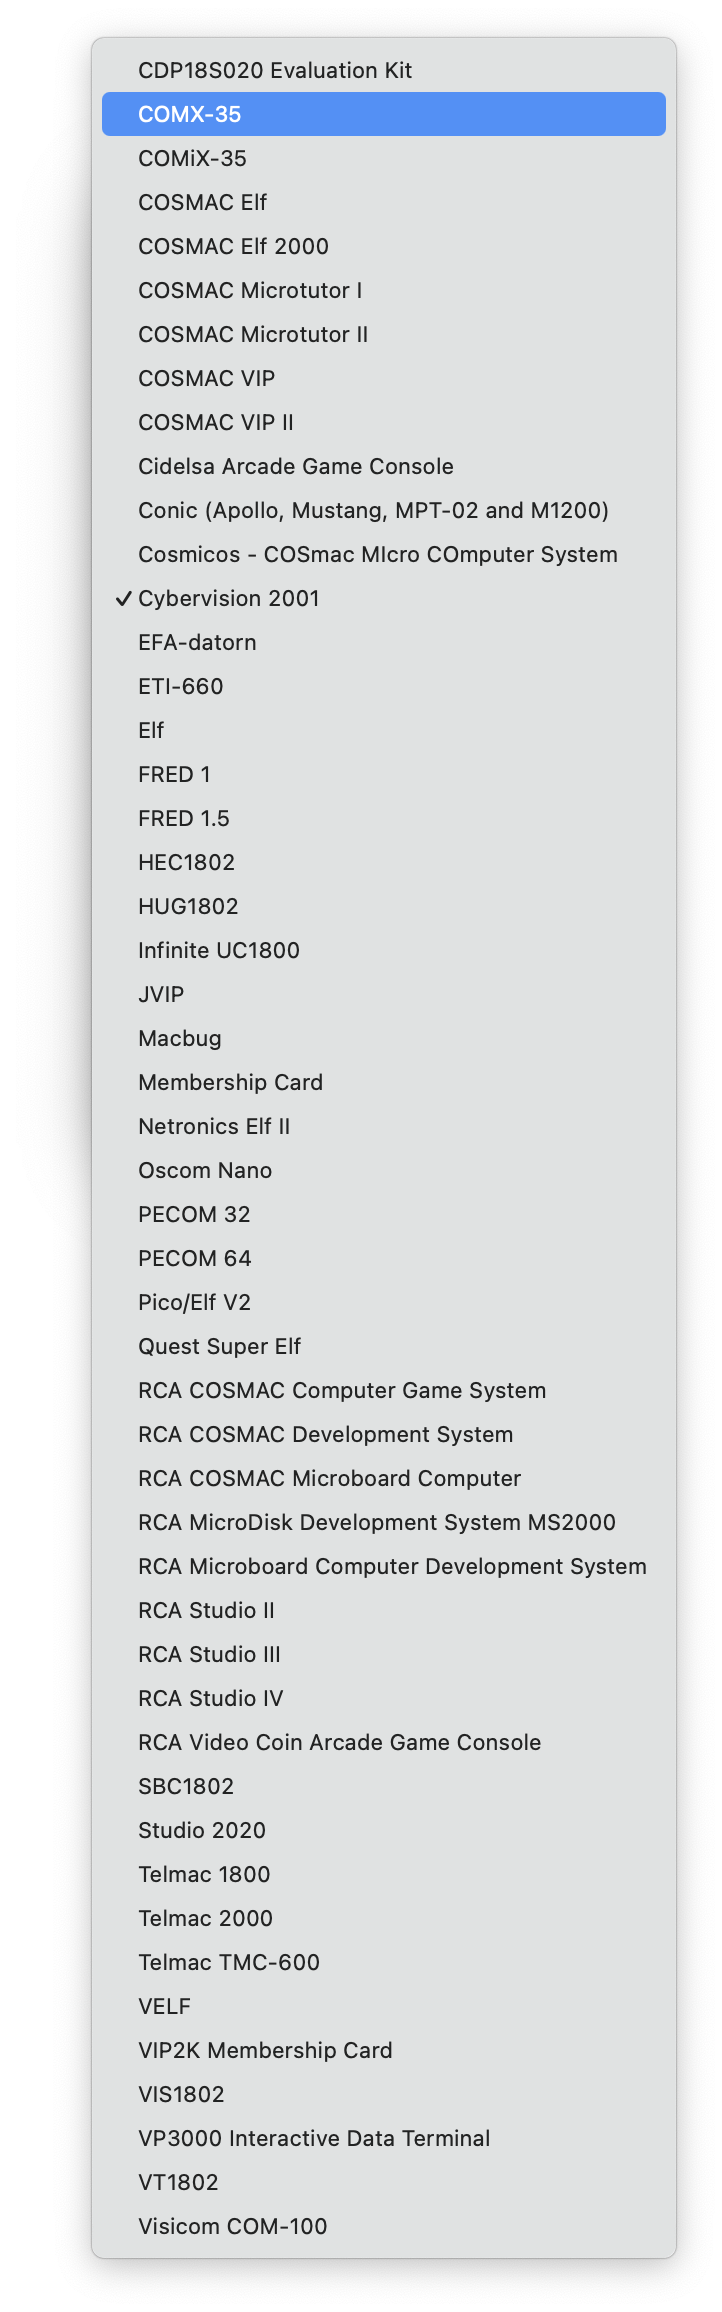
If a new folder is created within the Xml folder it will show up as a computer on next startup or when reselecting the XML folder via the XML button (highlighted in brown). If defined the extended computer name will replace the computer folder name if defined in the xml file via the <system><name> tag. As such it is recommended to use one and the same name tag in all xml files within one computer folder.
Each computer includes one or more xml files depending on number of available configurations.
For details about the XML syntax see the XML Code Syntax section.
ROM, RAM, NVR, RTC
Key File
Printer/Plotter Support
Video Dump
Disk Support
Cassette Support
Real Cassette Support
HEX and XMODEM Support
Zoom Level and Full Screen Mode
Sound
Memory Access
Video Terminal Simulation
Clock Speed